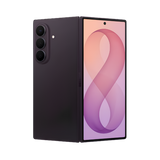
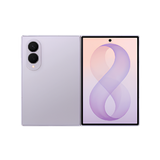
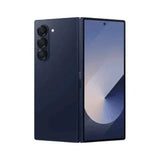
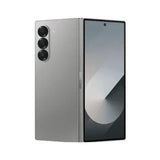


Install guide
Fit your screen protector in four steps.
Screen Protector Install Guide
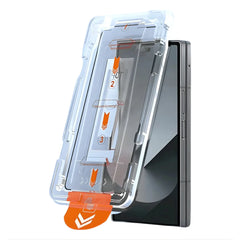
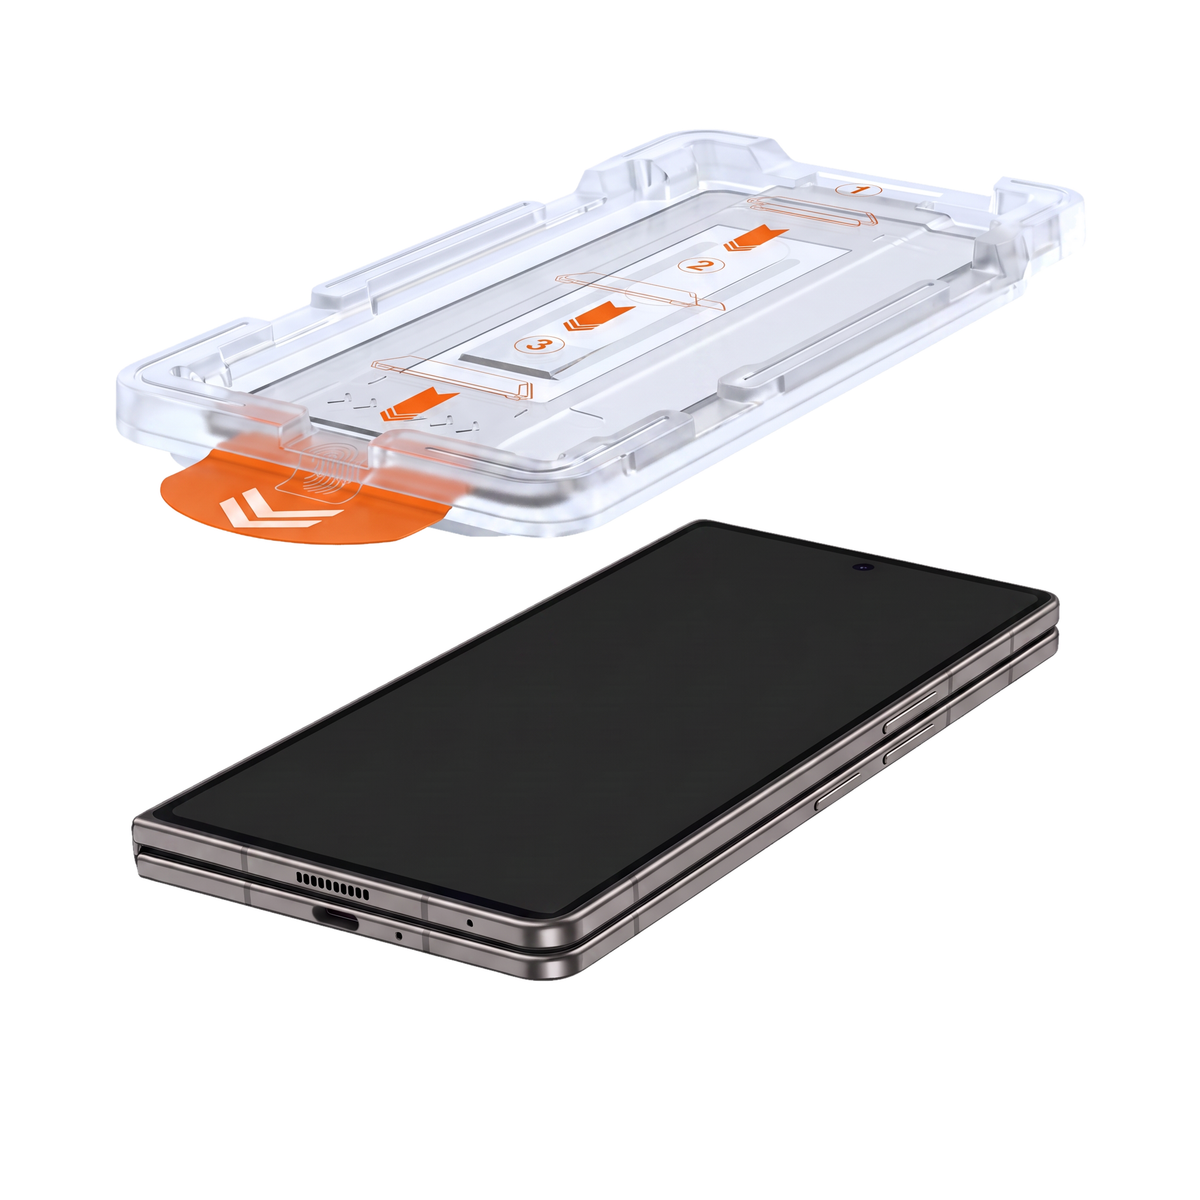
The Ion Glass kit ships with an auto-alignment tray, so the glass lands straight and sealed from dust. Follow the photos below and you are done in about three minutes.

What's in the box
Everything you need is in the pack.
No tape, no hairdryer, no credit card. The tray does the aligning; you just pull the tab.
- 2×9H tempered glass
- 1×Auto-alignment tray with pull tab
- 1×Alcohol wipe
- 1×Microfibre cloth
- 1×Dust-removal sticker
Before you start
Ninety seconds of prep prevents every bubble.
Almost every bubble is a speck of dust. The tray keeps the air out; the dust is on you to remove first.
Power off and wipe
Switch the phone off and close it. Clean the cover screen with the alcohol wipe, then dry it with the microfibre cloth in one direction.
Lift every speck
Dab the whole screen with the dust-removal sticker. One speck of lint is one bubble, so check the edges and the camera cutout twice.
Pick a still room
Work on a flat table away from fans and open windows. A bathroom a few minutes after a hot shower has the least dust in the air.
The install
Four steps. One tab. Done.
Seat the phone, pull the tab, press out the air, lift the tray. The photos show the exact tray in your pack.
-
 1Step 1 of 4
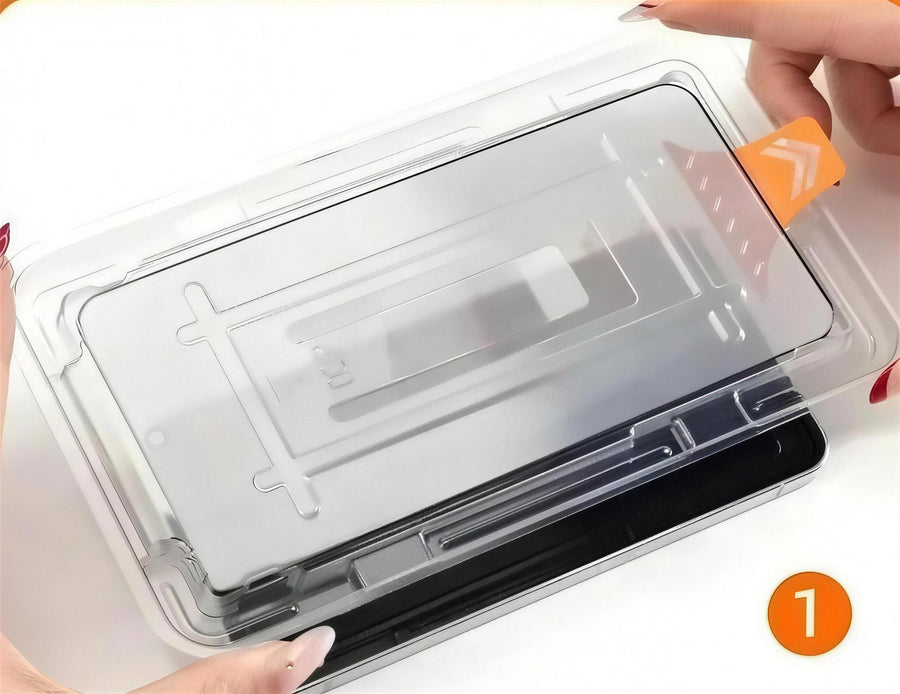
Seat the phone in the tray
Lay the closed phone cover-screen up and lower the tray over it. The frame only fits one way: the TOP marking sits at the camera end and the orange tab hangs off the bottom edge.
TipDon't force it. If the tray rocks, lift it off and check the phone is fully inside the frame. -
 2Step 2 of 4
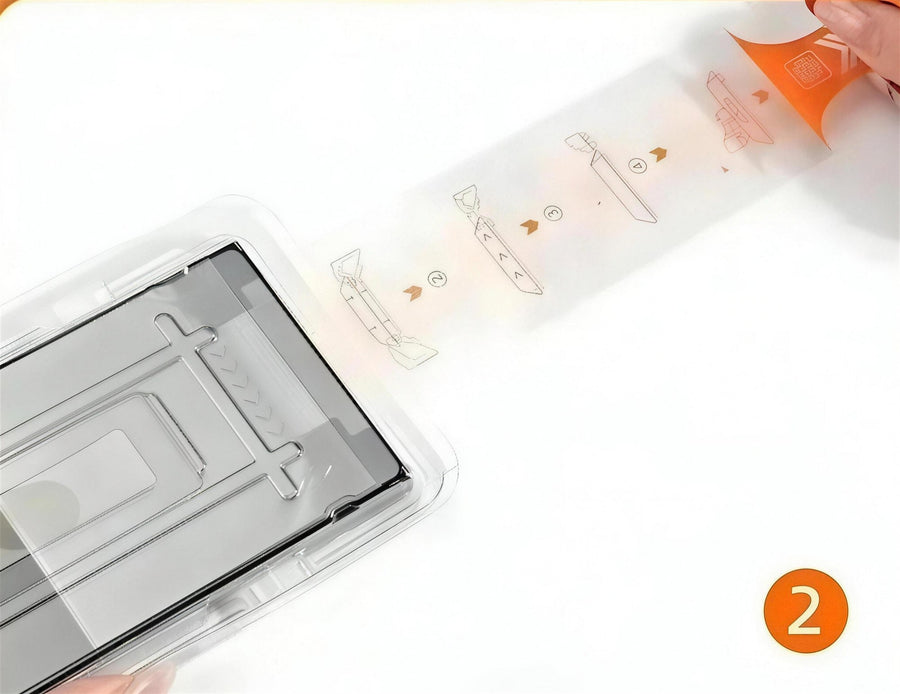
Slowly pull the orange tab
Hold the tray down with one hand. With the other, pull the orange tab straight out in one slow, steady motion. As the release film comes away, the glass lays itself onto the screen.
TipSlow beats fast here. Pulling in one continuous motion is what keeps air from getting under the glass. -
 3Step 3 of 4
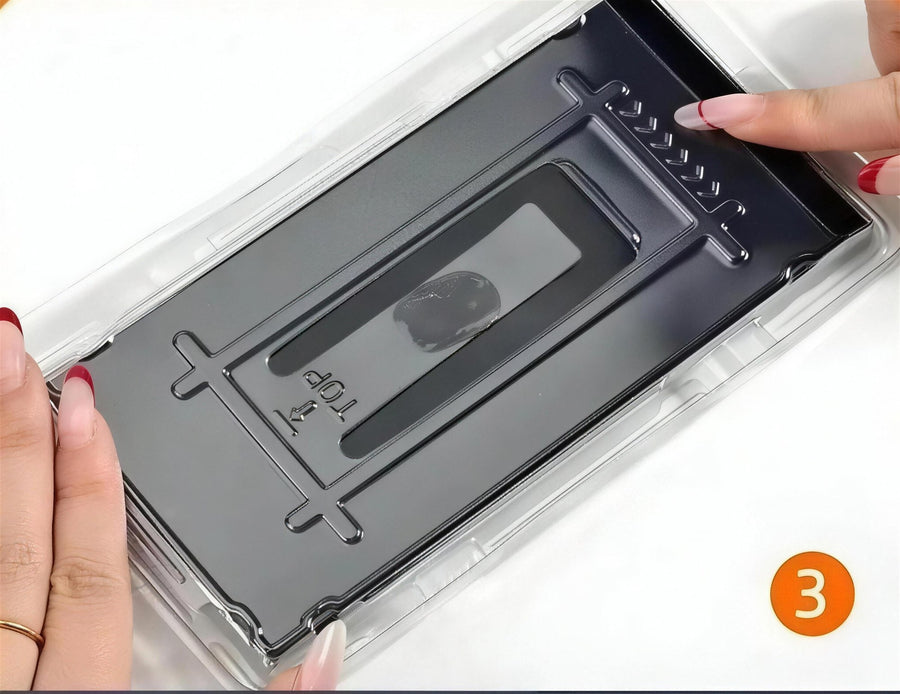
Press at the tail to push out the air
Press firmly on the tail end of the tray, where the tab came out, then sweep your finger along the glass towards the camera end. The air escapes through the vents and the adhesive bonds as you go.
TipUse the microfibre cloth under your finger for an even, streak-free press. -
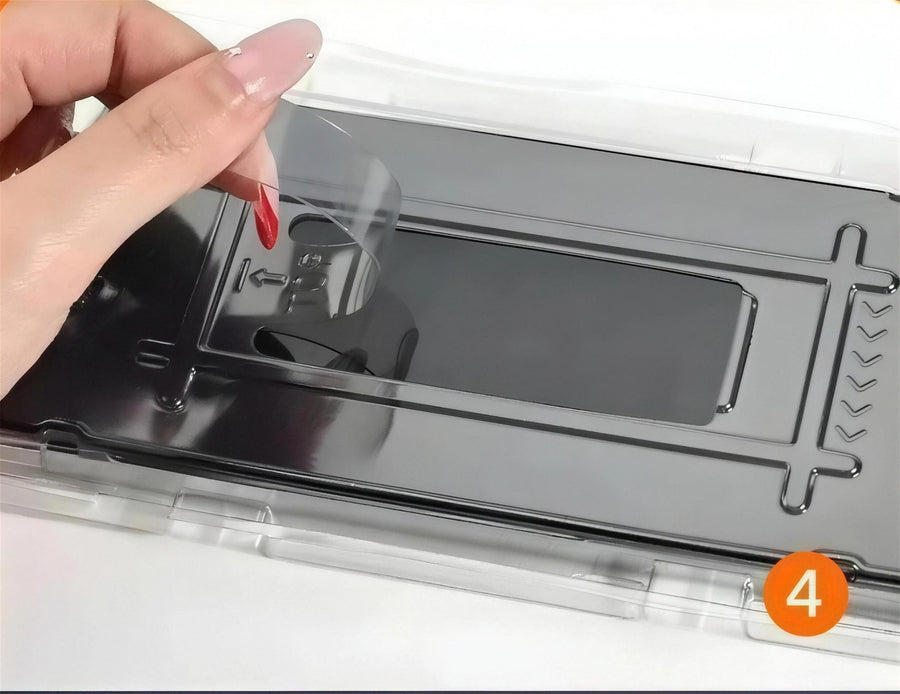 4Step 4 of 4
Lift the tray. Done.
Lift the tray straight up. The glass stays on the screen, perfectly centred. Give it one wipe with the microfibre cloth and you are finished. Any faint haze at the edges clears by itself within 24 hours.
TipFit your case now. The glass is case-friendly and the case edges will not lift it.
Troubleshooting
If something doesn't go to plan.
There's a bubble. What now?
Press it from the centre towards the nearest edge with the microfibre cloth. Tiny bubbles clear within 24 hours on their own. If a speck of dust is trapped, lift the nearest corner with the dust-removal sticker, dab the speck away and press the glass back down.
The glass isn't straight.
Lift it off by a corner straight away, before the adhesive fully sets. Re-check that the phone sits flat inside the tray frame with the TOP marking at the camera end, then run the four steps again with the second glass in the pack.
Does this go on the inner folding screen?
No. This kit is for the outer cover screen only. The inner folding display is flexible and already has a factory-fitted film. Never put tempered glass on it.
Will it work with my case?
Yes. The glass is cut slightly inside the screen edge so case lips sit beside it, not on top of it. Fit the glass first, then the case.
Will touch or the fingerprint reader change?
No. The Galaxy Z Fold reads your fingerprint through the side power key, so the glass never covers it, and the ultra-thin glass keeps full touch sensitivity for the S Pen and gaming.
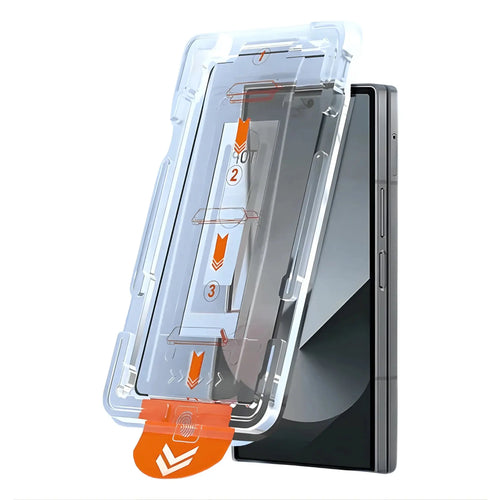
The kit in this guide
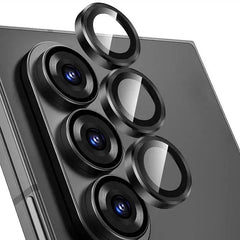
Protezione per schermo in vetro Ion per Z Fold
Need a hand?
Stuck? We'll walk you through it.
Send us a photo of where you got to and we reply within a business day. Faulty glass is covered by our 12-month warranty.